Attenuation
Five things to get right before your attenuation tank goes in
The tank is the easy part. The programme, the ground, the connections and the buried surprises are where jobs go sideways. Here's what to line up first.
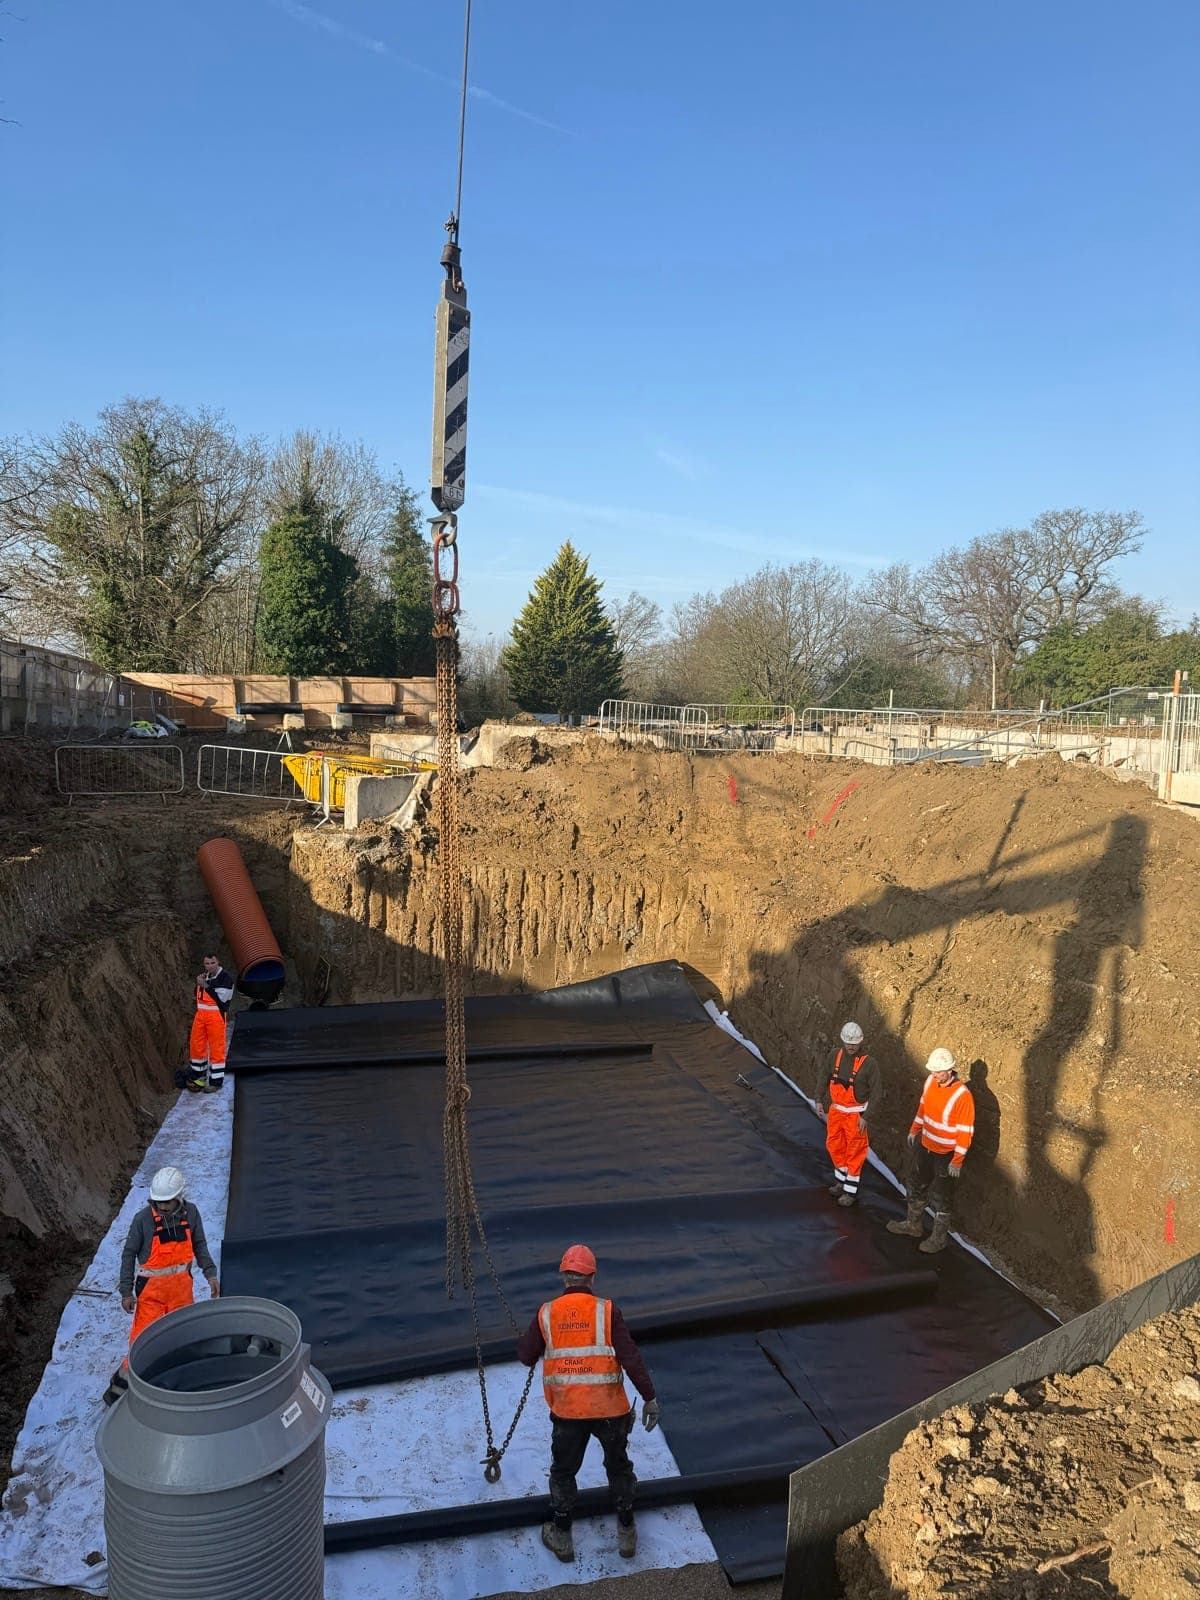
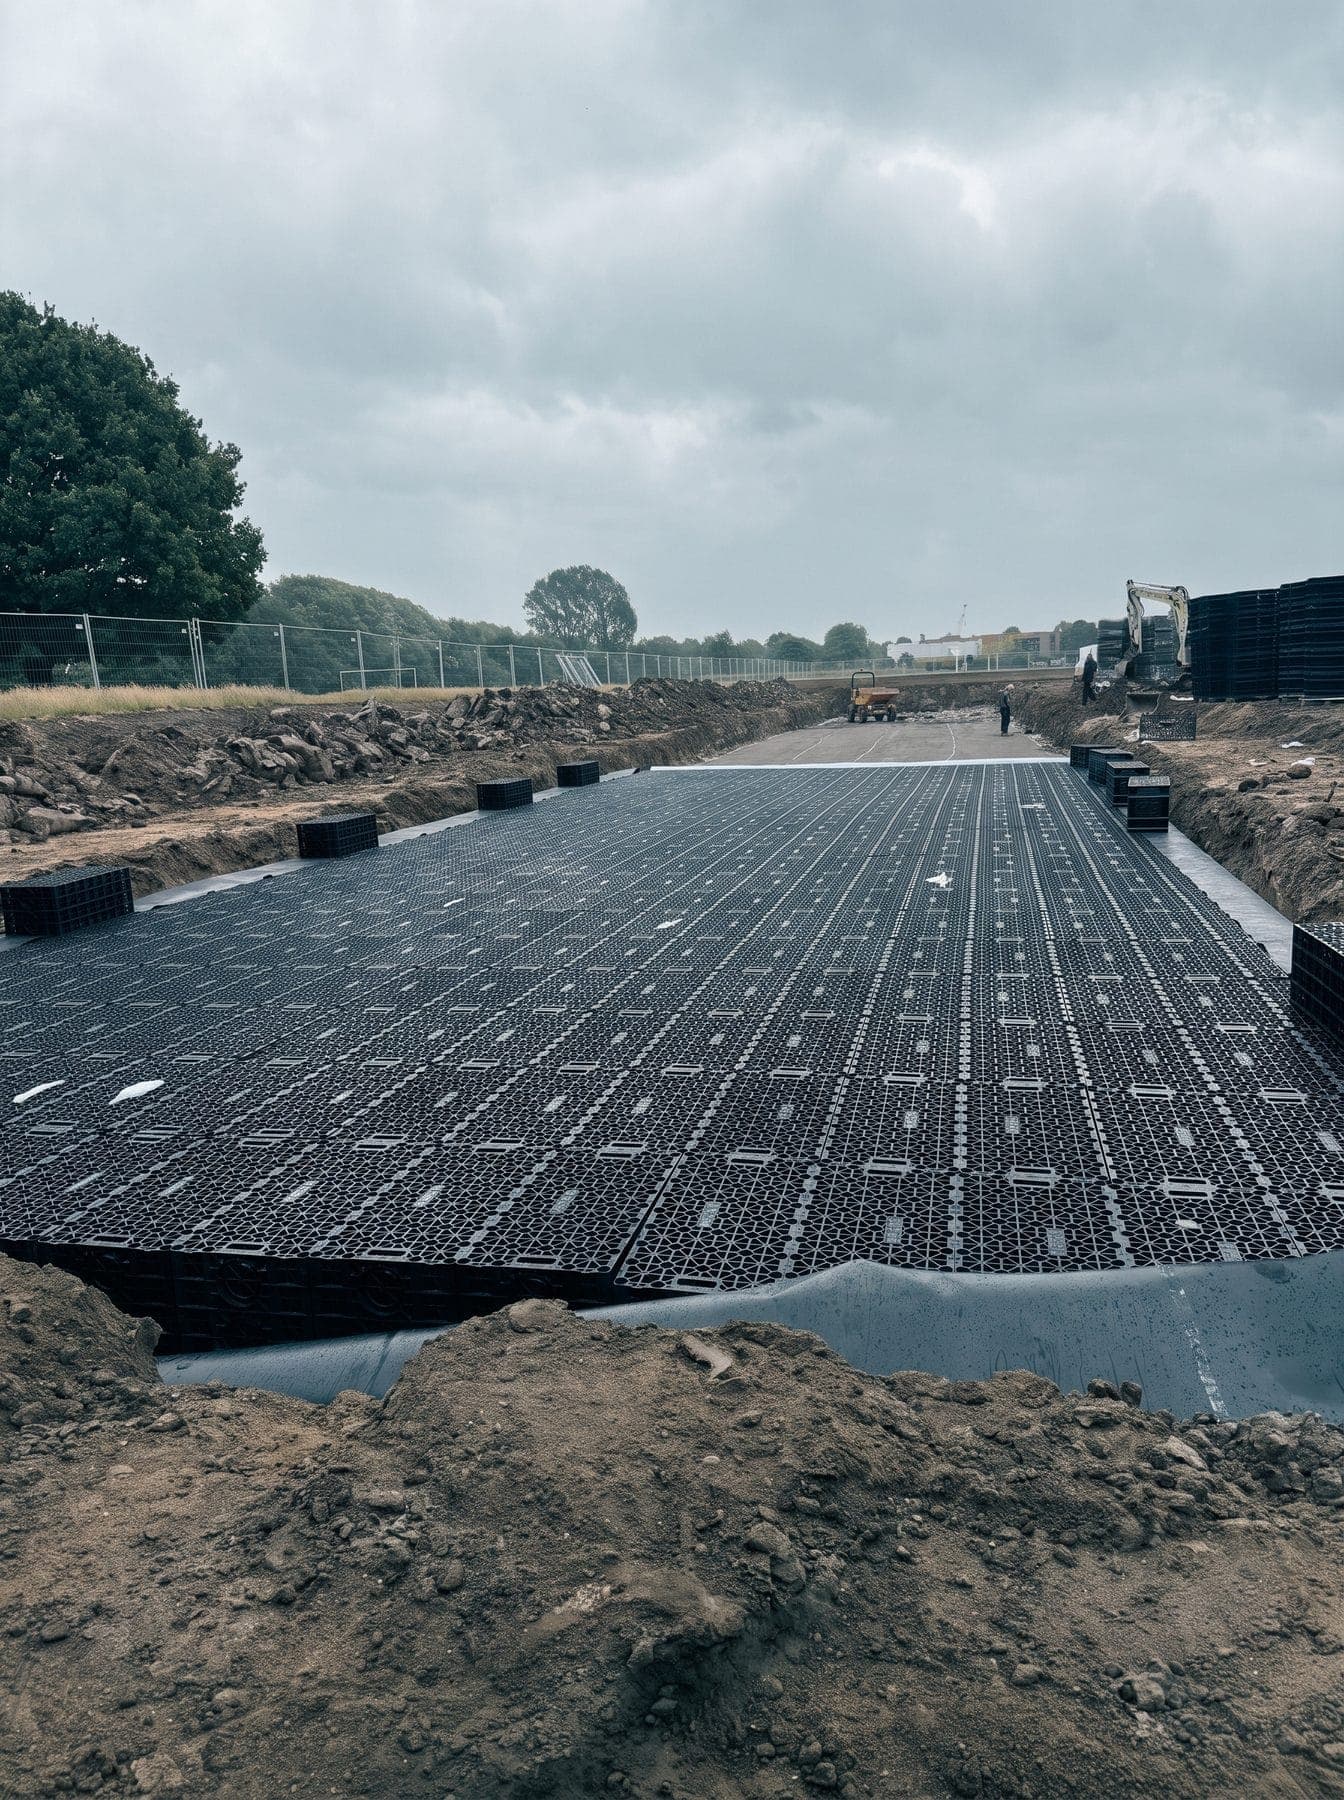
We install attenuation tanks in days, not weeks — when the groundwork around them has been thought through. Here are the five things worth sorting before we arrive on site.
1. The formation
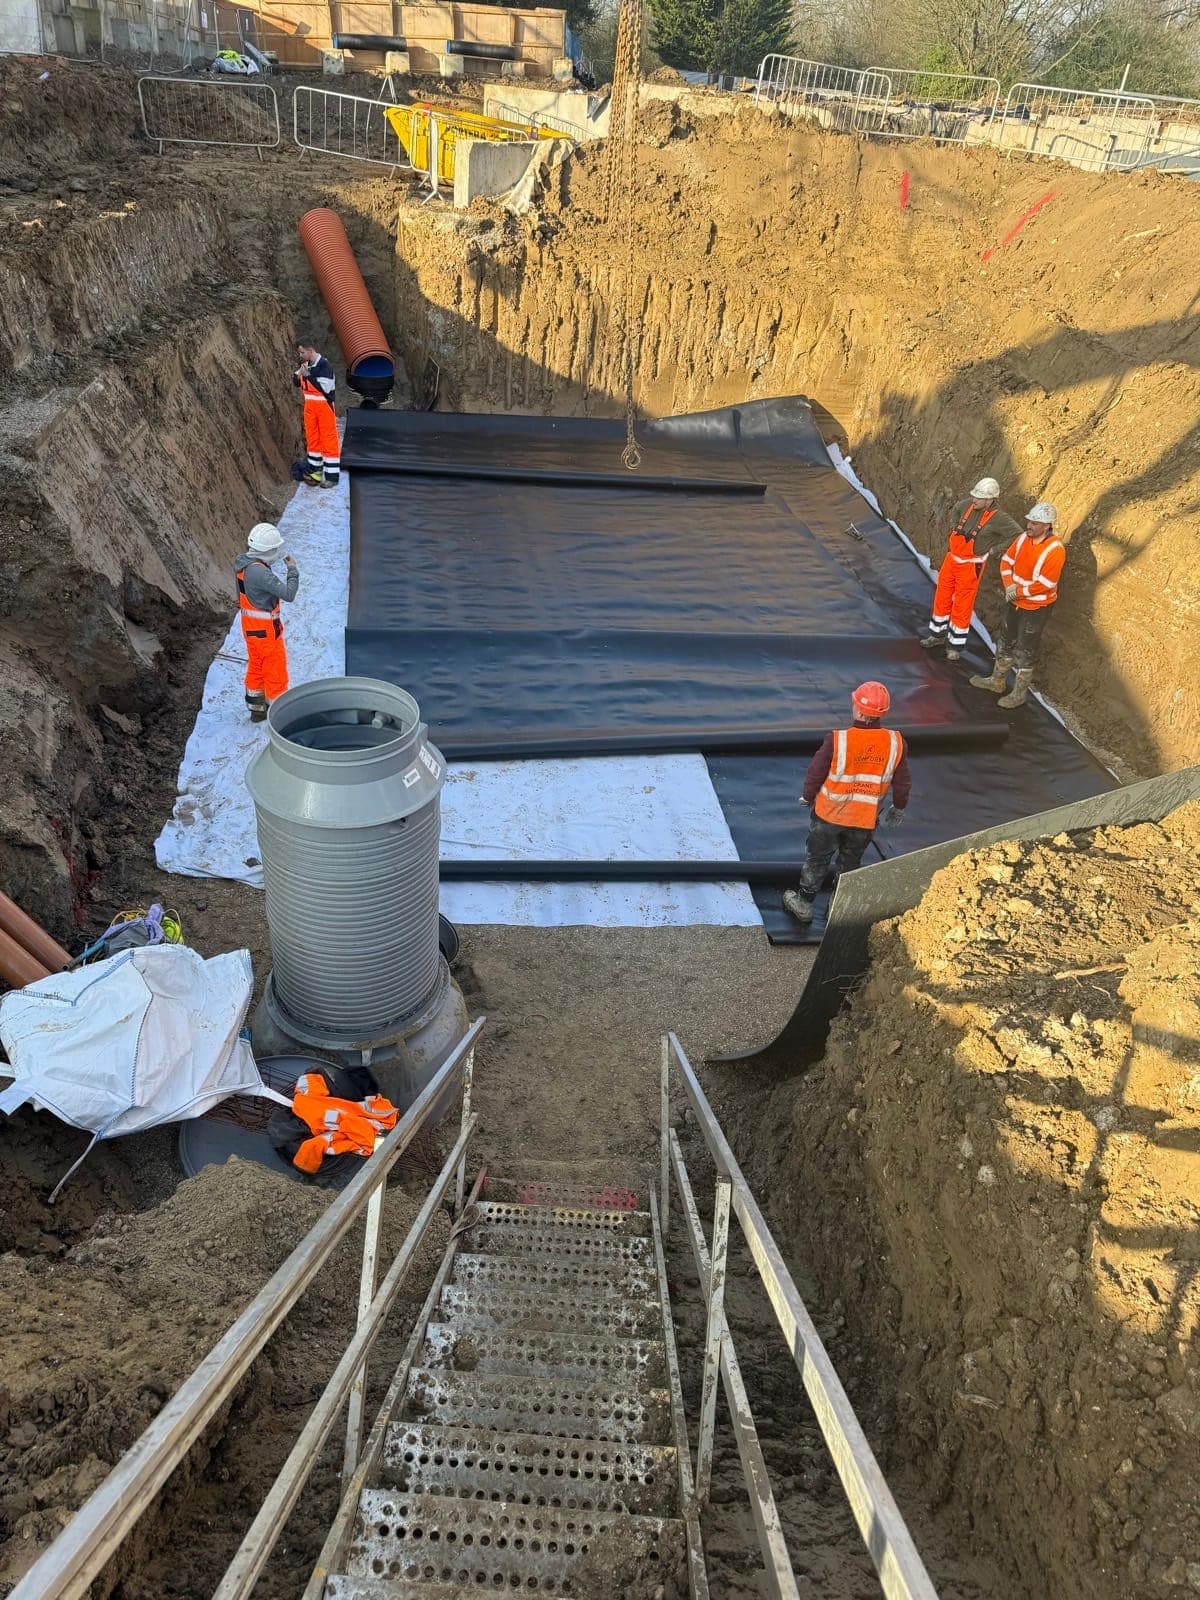
A tank sits only as well as the ground beneath it. We need a level, debris-free formation, with sand blinding where the ground demands it. Sharp stones and uneven bases are the enemy of a membrane.
2. The connections
Inlets, outlets and the flow control all have to tie into the wider drainage design. Know how many connections there are and where they land — one recent 970m³ tank had seven, and each is a detail that has to be formed and sealed.
3. Buried services
Drawings are never the whole story. On the same Chesterfield job an unmarked water main surfaced across the excavation; we reconfigured the tank on-site to route around it without losing volume. Assume something is down there and build a bit of contingency into the programme.
4. The materials
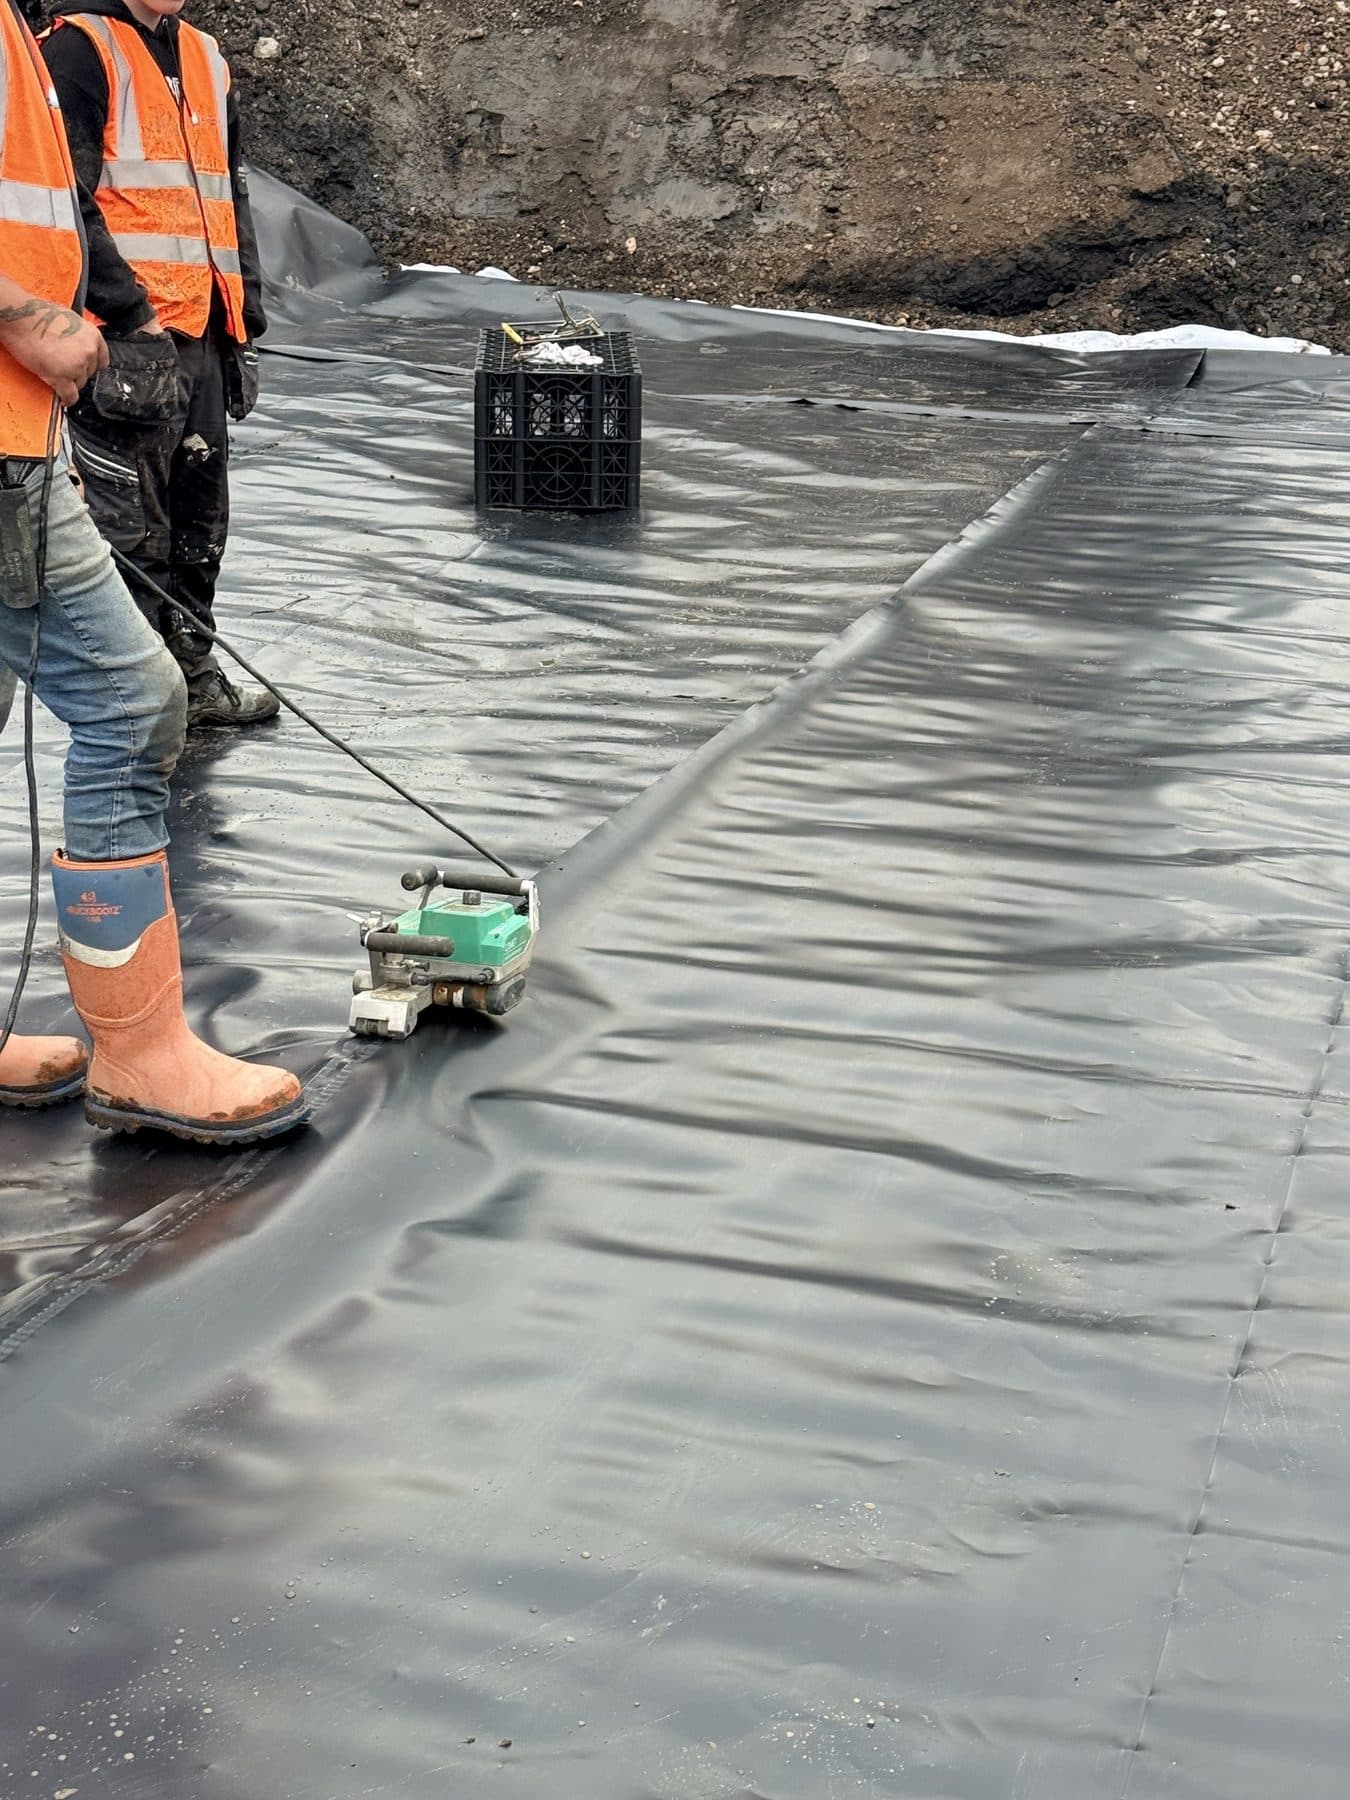
If you're supplying crates and membrane, tell us the roll widths — narrower rolls mean more welds and more testing time. It doesn't change the quality, but it changes the day count. We'll flag anything that affects the warranty before we start.
5. The sign-off pack
Building control, the adopting authority and the warranty provider all want the same thing: weld test records, as-builts and a QA sign-off. That comes as standard from us — but agree upfront who it goes to so nothing stalls at handover.
Got a site that needs one of these?
Tell us the details and we'll come back with a quote within one working day.